最近一直有一個念頭,我想要修改我以前開發過的程式碼生成器,因為覺得目前的作業方式太沒效率了,如果可以少一些時間做開發,多的時間通通都可拿來做研究
目前我們的作業流程是這樣的
需求確認 -> 到Google Spreadsheets新增資料表結構 -> 到資料庫新增資料表 -> 開發程式 -> 用Postman寫測試碼 -> 測試 -> 到Google Spreadsheets填寫API資訊
以人工作業來說,用Google Spreadsheets寫文件是快上許多, 但以自動化作業來說,Wiki的語法我用程式碼生成器一樣可以自已生啊
但如果說要做到透過一個JSON,生出Wiki資料表結構、SQL語法、CRUD程式、API資訊,只能夠修改我以前設計的那隻碼農來達到目的,只是目前實在沒時間弄這塊,醫管碩班開課了,然後我最近又要研究用Java寫Neo4j的Plugins,比較折衷的方式就是用VSCode的Code Snippets了
使用方式
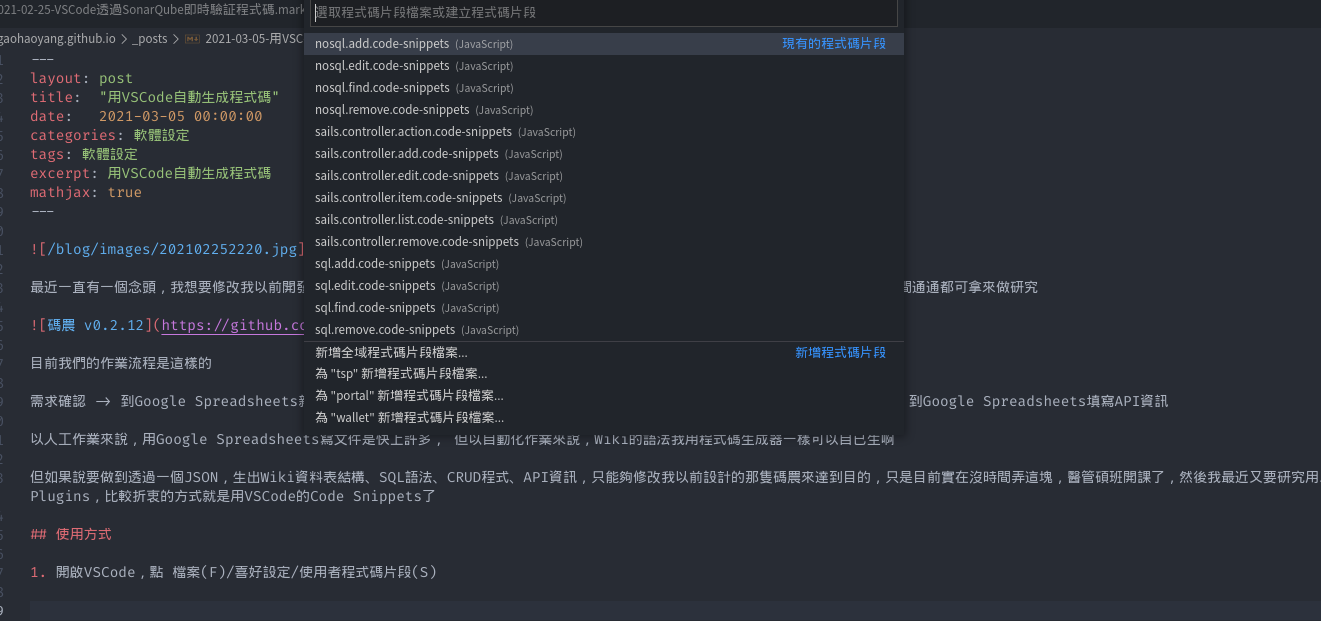
- 開啟VSCode,點 檔案(F)/喜好設定/使用者程式碼片段(S)
-
在這裡,我比較建議選用 新增全域程式碼片段(S) ,這樣我們就算跳到其他專案,只要程式框架一樣,也可以使用
-
接下來,它會要求你 鍵入程式碼片段檔案名稱 假設我們給它取名叫 sails.controller.test 好了
-
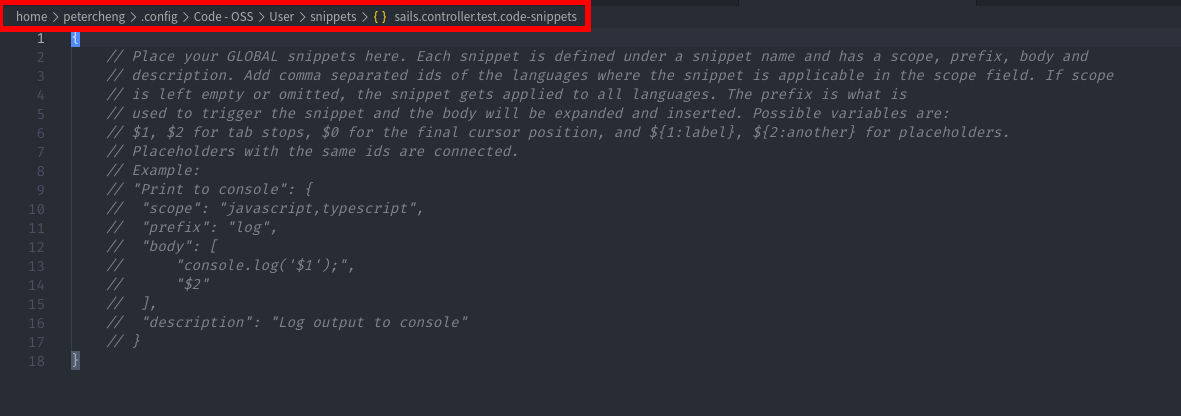
接下來進入編輯畫面之後,我們可以先看正上方,就可以知道該檔案存在那了,之後要備份也方便
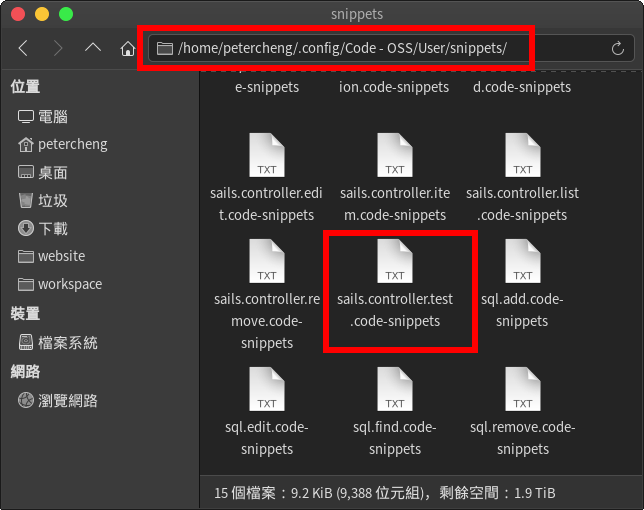
- 先進來看一下檔案所在的資料夾
- 返回檔案,我們可以看見下面這一串被註解掉的程式碼
{
	// Place your GLOBAL snippets here. Each snippet is defined under a snippet name and has a scope, prefix, body and
	// description. Add comma separated ids of the languages where the snippet is applicable in the scope field. If scope
	// is left empty or omitted, the snippet gets applied to all languages. The prefix is what is
	// used to trigger the snippet and the body will be expanded and inserted. Possible variables are:
	// $1, $2 for tab stops, $0 for the final cursor position, and ${1:label}, ${2:another} for placeholders.
	// Placeholders with the same ids are connected.
	// Example:
	// "Print to console": {
	// 	"scope": "javascript,typescript",
	// 	"prefix": "log",
	// 	"body": [
	// 		"console.log('$1');",
	// 		"$2"
	// 	],
	// 	"description": "Log output to console"
	// }
}
個人建議全部清掉不要理它
- 這裡提供樣本供參考
{
	"Sails_Controller_Add": {
		"prefix": "sails.controller.add",
		"scope": "javascript",
		"body": [
			"${1:create}: async function (req, res) {",
			"    try {",
			"        //1. 取得HTTP Params",
			"        const ${2:user_id} = req.userid;",
			"        const params = req.allParams();",
			"        const ${3:retention_user} = await ${4:Retention_user};",
            "        const profile = await AuthService.get_profile(${2:user_id}, ${3:retention_user});",
			"",
			"        //2. 驗証使用者是否存在",
			"        if (profile === {}) {",
			"            return ResponseService.fail(res, \"ERROR_USER_NOT_FOUND\");",
			"        }",
			"",
			"        //3. 取得資料",
			"        const beans = {",
			"            ${5:/** todo **/}",
			"        }",
			"        const ${6:model} = await ${7:Model};",
			"        const result = await ${8:service}.${1:create}(beans, ${6:model});",
			"        return ResponseService.success(res, result);",
			"    } catch(err) {",
			"        return ResponseService.error(res, err);",
			"    }",
			"},"
		],
		"description": "Sails Controller Add"
	},
}
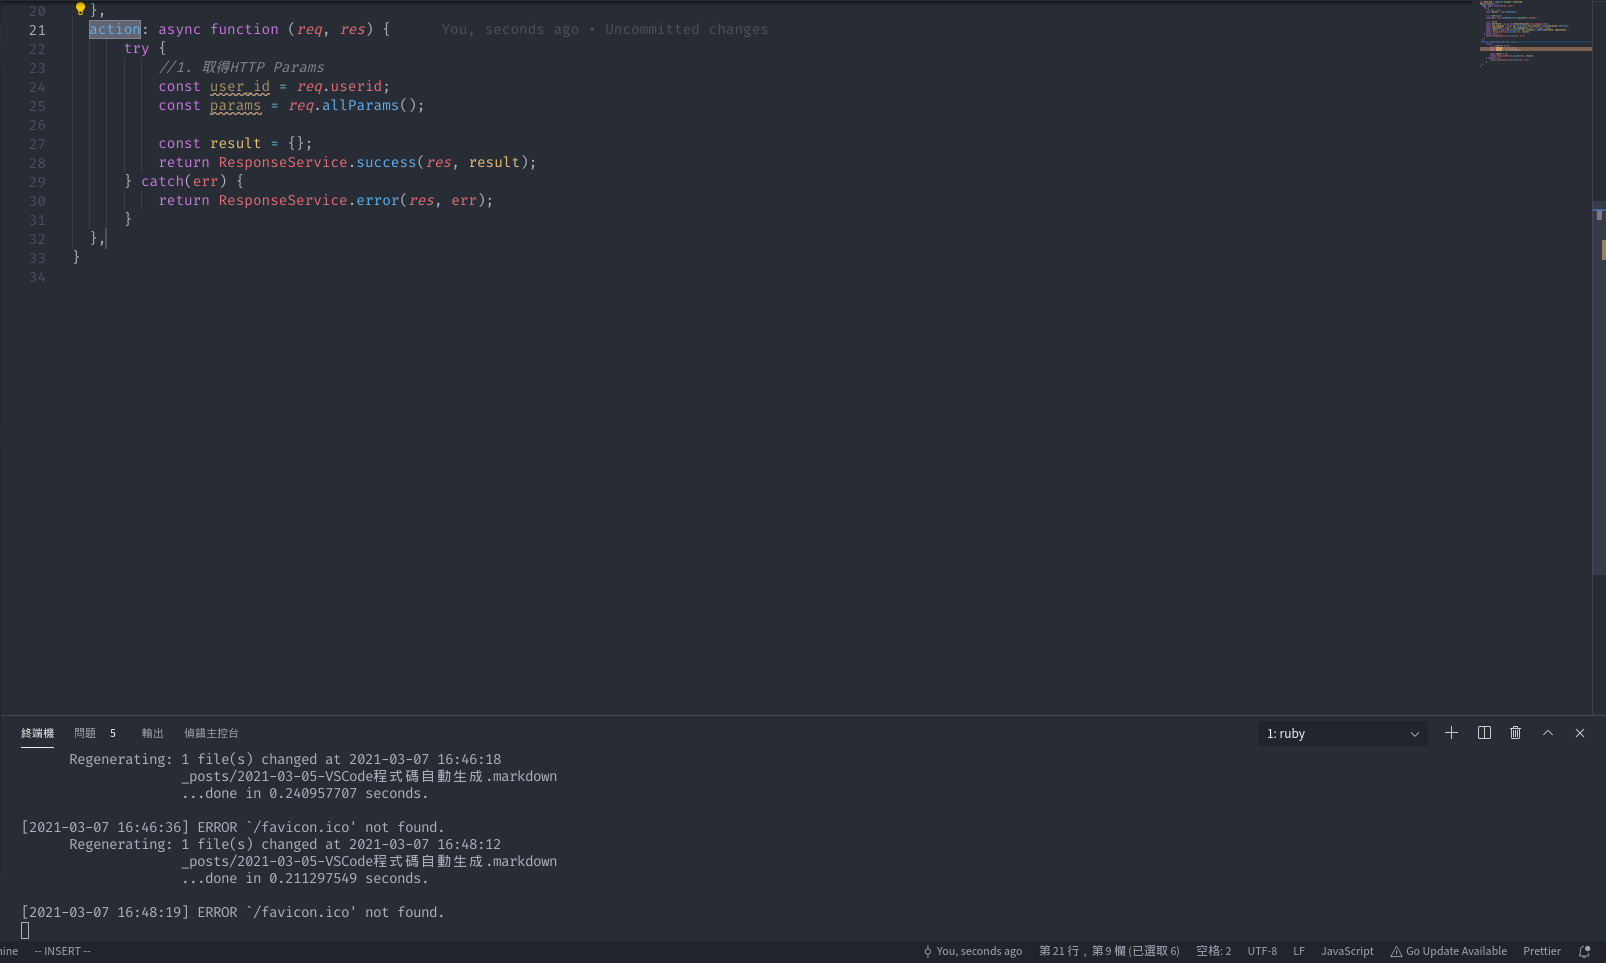
Sails_Controller_Add 代表這個Object的名字
prefix 代表你在IDE編輯程式之時,要輸入什麼才會跳自動提示
scope 代表觸發的程式語言,像我這案例就是Javascript,多種程式語言用,做分隔,好比scope: “javascript, typescript”
body 你的程式碼樣版
description 你的程式碼片段敘述
而裡面,我們可以看見有很多${1:create},${2:user_id}等等,它代表的意思是這樣的
1與2代表的是變數的順位,而:之後的內容代表預設的變數名或變數值,當你透過輸入 sails.controller.add 產生上方 body 中的那些程式碼樣版之時,你可以透過Tab依序切換到不同的變數,當你修改裡面的值時,只要變數順位與變數名相同,二邊的值就會改變,可以參照一下說明
當我輸入 sails.controller.add 時,IDE跳出Auto Complete給我選擇
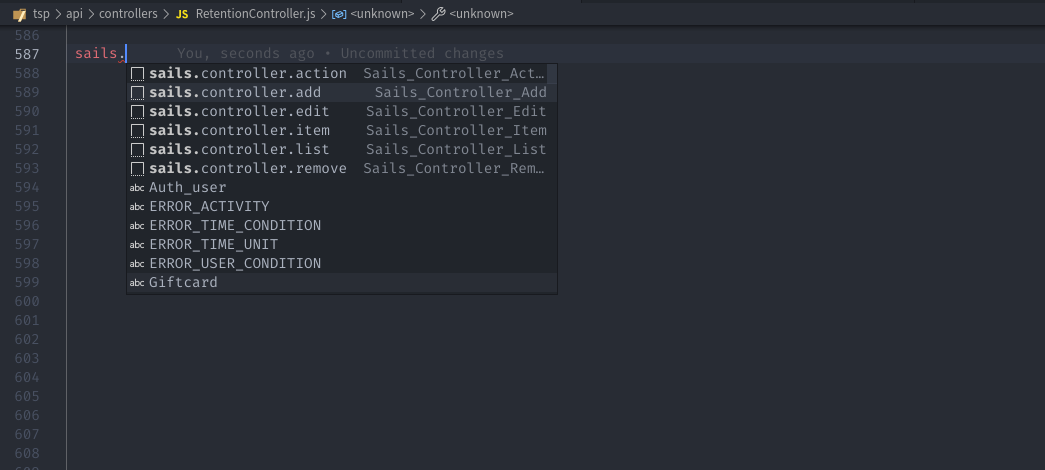
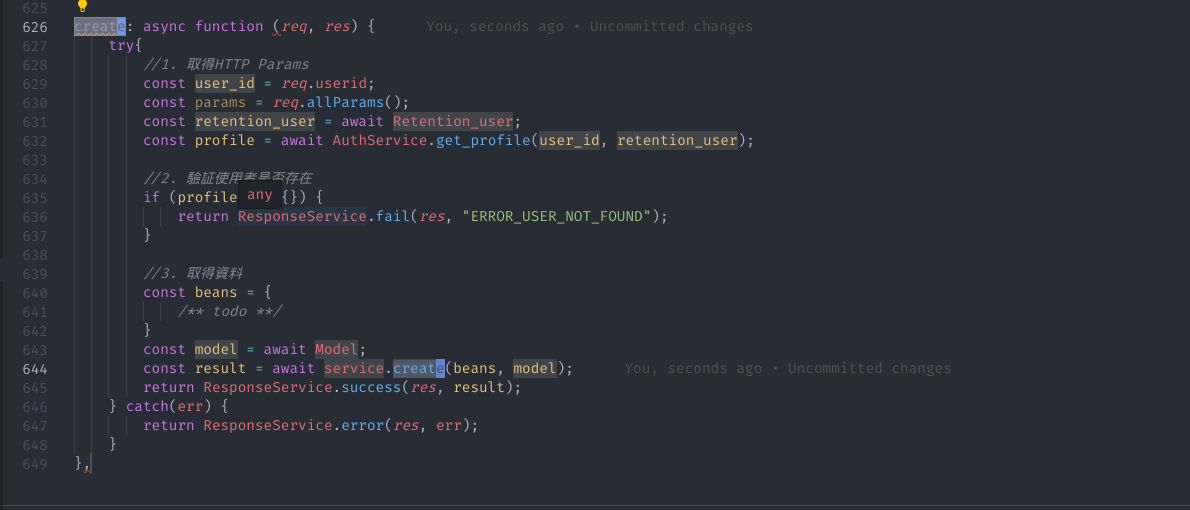
之後按下 Enter,就會產出我們之前錄製的程式碼,然後我們可以透過按下Tab來修改${[num]:xxx}參數與裡面的值
常用的判斷式
這裡提供一下比較常用的判斷式,For Node/Javascript
for…n
{
	"For_N": {
		"prefix": "for.n",
		"scope": "javascript",
		"body": [
			"const ${1:nums} = ${2:array}.length;",
			"for (let i = 0; i < ${1:nums}; i++) {",
			"    ${3:/** todo **/}",
			"}"
		],
		"description": "For N"
	},
}
if
{
	"IF": {
		"prefix": "if",
		"scope": "javascript",
		"body": [
			"if (${1:compare} ${2:===} ${3:compared}) {",
			"    ${4:/** todo **/}",
			"}"
		],
		"description": "IF"
	},
}
switch…case
{
	"Switch_Case": {
		"prefix": "switch.case",
		"scope": "javascript",
		"body": [
			"const ${1:case1} = ${2:compared};",
			"const ${3:case2} = ${4:compared};",
			"const ${5:case3} = ${6:compared};",
			"switch(${1:compare}) {",
			"    case ${1:case1}:",
			"        ${7:/** todo **/}",
			"        break;",
			"    case ${3:case2}:",
			"        ${8:/** todo **/}",
			"        break;",
			"    case ${5:case3}:",
			"        ${9:/** todo **/}",
			"        break;",
			"}"
		],
		"description": "Switch Case"
	},
}
常用的DB CRUD
這裡提供一下比較常用的DB CRUD,For Sails
Create
{
	"SQL_Add": {
		"prefix": "sql.add",
		"scope": "javascript",
		"body": [
			"const ${1:insertCond} = {",
			"    ${2:/** todo **/}",
			"}",
			"const ${3:model} = await ${4:Model}.create(${1:insertCond}).fetch();"
		],
		"description": "SQL Add"
	},
}
Search
{
	"SQL_Find": {
		"prefix": "sql.find",
		"scope": "javascript",
		"body": [
			"const ${1:whereCond} = {",
			"    id:${2:params}.id,",
			"    ${3:/** todo **/}",
			"}",
			"const ${4:model} = await ${5:Model}.find(${1:whereCond})"
		],
		"description": "SQL Find"
	},
}
Update
{
	"SQL_Edit": {
		"prefix": "sql.edit",
		"scope": "javascript",
		"body": [
			"const ${1:findCond} = {",
			"    id:${2:params}.id,",
			"    ${3:/** todo **/}",
			"}",
			"const ${4:updateCond} = {",
			"    ${5:/** todo **/}",
			"}",
			"const ${6:model} await ${7:Model}.update(${1:findCond}).set(${4:updateCond}).fetch();"
		],
		"description": "SQL Edit"
	},
}
Delete
{
	"SQL_Remove": {
		"prefix": "sql.remove",
		"scope": "javascript",
		"body": [
			"const ${1:whereCond} = {",
			"    id:${2:params}.id,",
			"    ${3:/** todo **/}",
			"}",
			"const ${4:model} = await ${5:Model}.destroy(${1:whereCond}).fetch();"
		],
		"description": "SQL Remove"
	},
}
缺點
雖然程式碼生成器不能做到針對任何場景的程式碼都能產生,這也其實和你的設計模式與模組化設計能力有關,開發時盡可能達到流程一致,程式碼生成器才能達成它最大的效益,先生成常用的程式碼,然後做微修改就好
程式碼雖然可以快速生成,但越多重複性高的程式碼,也相對帶來維護上的麻煩,程式碼盡可能越少越好,好比我們可以將CRUD寫成一個Engine,且可以同時對多個Table/Document進行CRUD,我覺得這是一個比較好的做法,並儘可能透過多型來達到不同的運用,相關的方式也可以參照我之前寫過的這篇 開發自動化